Constructing a Dart Frog Habitat
By Damien Renner, Senior Keeper, Ectotherms
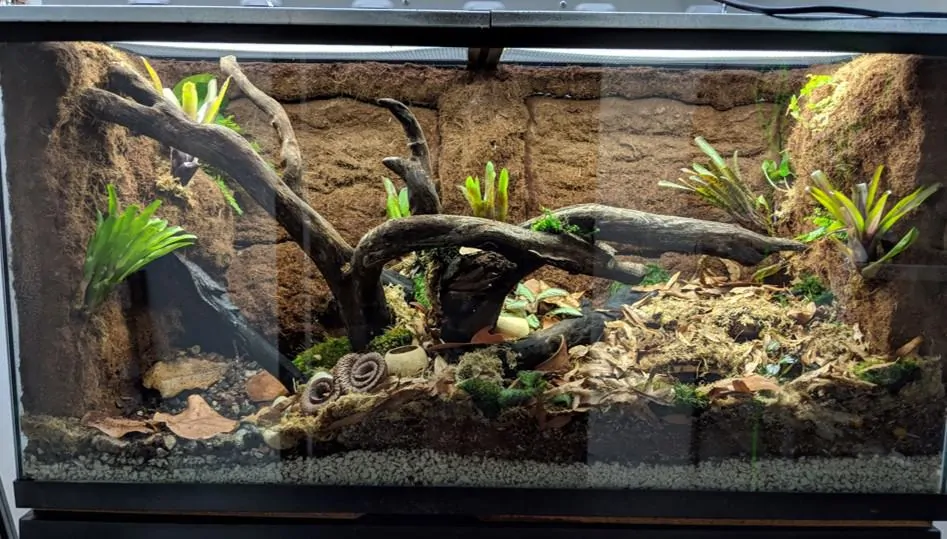
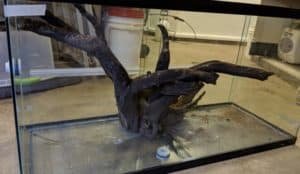 I came up with the design after looking at many examples of other dart frog vivaria that private sector keepers build. There are many great examples and communities around making dart frog enclosures, so finding materials and ideas was not too difficult. I decided I liked the look of one in particular that used a central piece of wood to design the rest of the tank around, so that is what I decided to emulate. Horticulture was able to find a pretty awesome looking piece of ironwood, so I ended up using that. And because ironwood is a hardwood, I did not have to worry about the excessive moisture rotting it.
For materials, I used Great Stuff foam that is branded for ponds and silicone. Silicone is used to help keep the foam to stay on the glass for larger projects. After the foam dried, I used a razorblade to carve the foam which helps the silicone to stay on. When you apply the silicone, you press whatever substrate you want into it. I ended up using coconut fiber. The downside to silicone is it’s easy to scratch the substrate off of, so I reinforced the doorframes of the back of the exhibit with an epoxy we typically use in other exhibits.
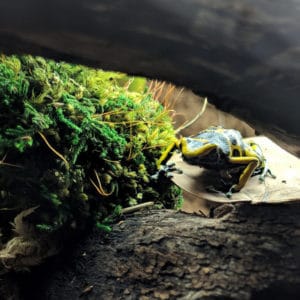 The bottom of the tank is made in multiple layers. Starting at the bottom is the drainage layer. I picked one that is light in weight as the exhibit was already pretty heavy and was going to be moved from one of our buildings on the Children’s Trail to the Tropics Trail where it currently is. There is a layer of fiberglass screen mesh to keep the drainage layer separate from the substrate layer. The next layer is “ABG” substrate, after the Atlanta Botanical Gardens which made this type of substrate mixture. It is designed to keep substrates at a certain humidity and not compact down. It was originally made for plants, but the dart frog community ended up adopting it. On top of the ABG is a layer of moss and dead leaves. On the pond side is just gravel.
We also ordered a mixture of plants for the tank, mostly bromeliads and begonias. There are also some seed pods in there along with isopods and springtails in the exhibit as the “cleanup crew” that eats fungus, fecal and other materials; they are supposed to help turn the soil and also provide nutrients to the plants with their own fecal.
The other part of the exhibit to consider was the water cycle. The exhibit is hooked up to our misting system and at any given time has at least 1cm of water at the bottom of the tank. This ensures that if the substrate needs extra moisture, the water table can will evaporate into the substrate and excess water from misting can drain out of the soil. If the substrate is touching the water table, however, it’ll oversaturate the substrate. The excess water in the drainage layer drains down into the reservoir. The exhibit also has a pump on it that moves water from the reservoir to the water feature, so the water is always cycling within the tank. We do water changes on the tank about twice a week.
From start to finish the process was about 10 months, whenever I could find time here and there to work on it. There was a lot of trial and error in the process and working with a lot of materials and processes I’d never done before, so a lot of it in the beginning was research.
