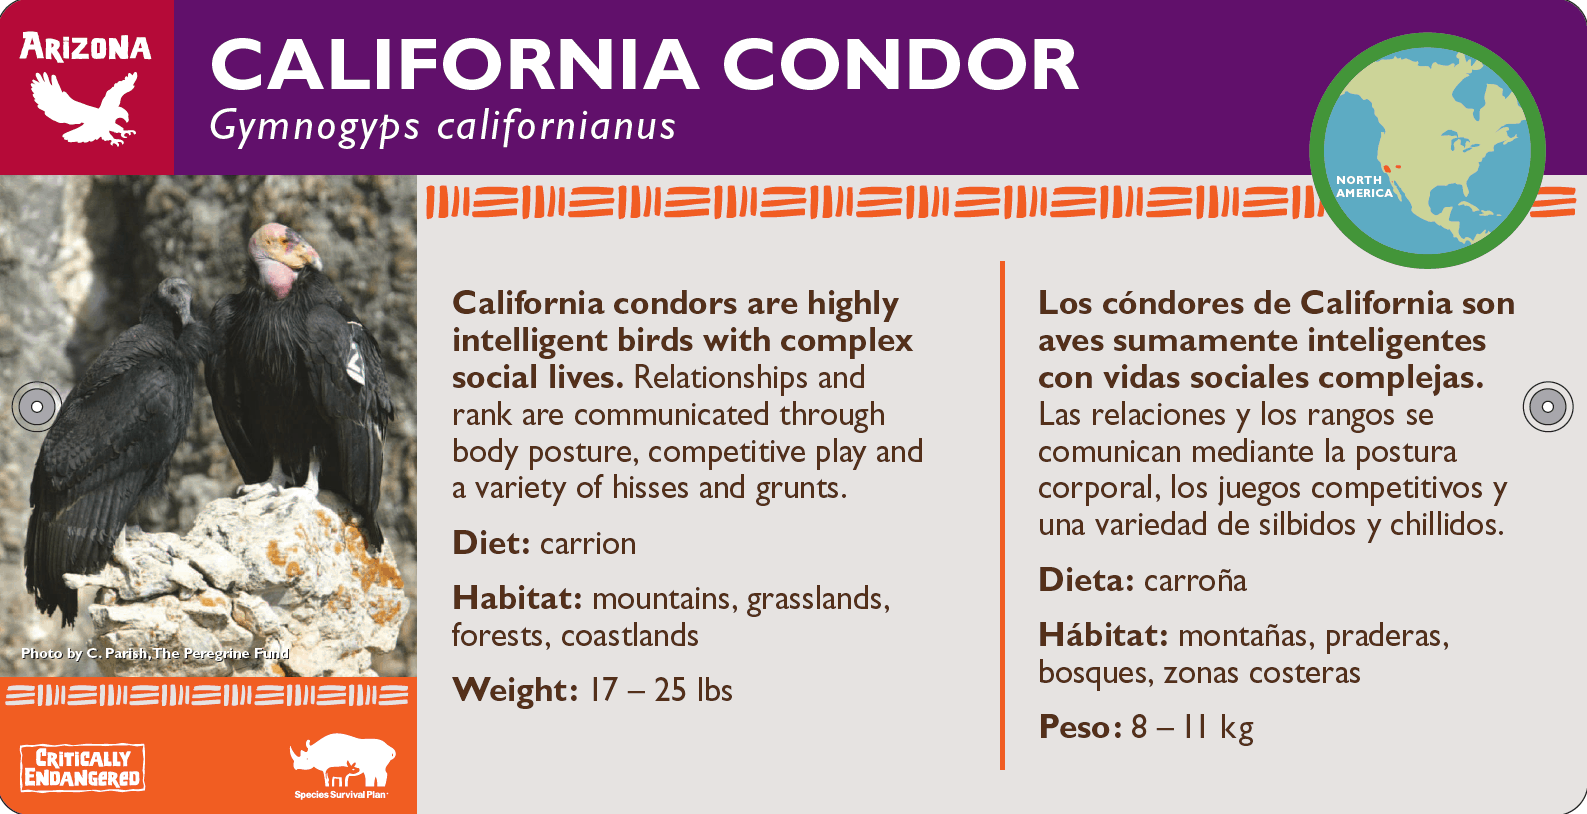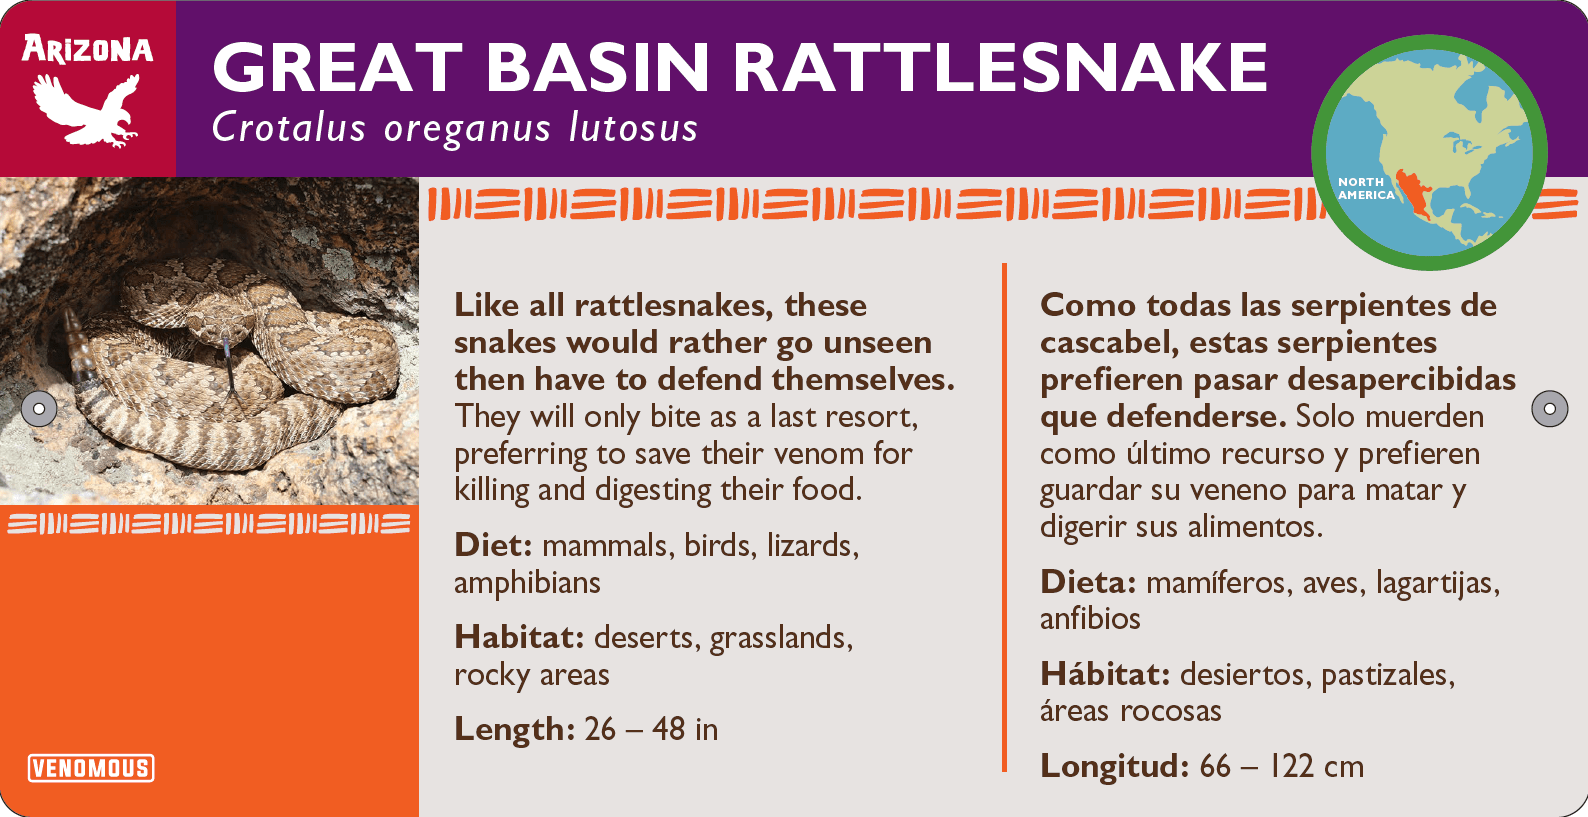
How Do We Create a Species Label?
How do we create a species label?
By Matt Strangwayes, Interpretive Content Manager
As Interpretive Content Manager at the Phoenix Zoo, one of my main responsibilities is to develop the educational signage that is installed on grounds. Educational signage at the Zoo comes in two main forms:
- species labels, which are found at most exhibits and adhere to a specific template
- everything else, which can range from variously-sized individual signs to comprehensive displays involving multiple signs or even tactile and interactive elements
We’ve all seen the species labels at the Zoo. But what exactly are we looking at? Think of them as calling-cards for each species. Presented in both English and Spanish, they let us know what animal is in the exhibit and answers our initial questions. Let’s take a closer look at the components of a species label, and what goes into creating one …
- Trail designation/color: Situated in the upper left corner is the trail designation, which tells you where in the Zoo the animal is located. Expressed by an icon and an associated color, it coordinates with our Zoo map, located online.
- Common name, scientific name: Each species is identified by their common name and scientific, or binomial, name. Common names can vary by region, language etc. Scientific names can change over time and are occasionally points of contention among researchers. If I’m unsure, I’ll consult our Living Collections Department and together we’ll determine which name is most appropriate.
- Range map: We typically use maps provided by the International Union for the Conservation of Nature (IUCN) Red List but will seek out other sources for species not found on the list.
- Bold statement: The bold statement is an opportunity to describe an interesting characteristic of each species. Ideally, the topic is an adaptation or behavior guests can observe in the animals on exhibit. I have a limited amount of space to work with, about 40 words, so I need to be as concise as possible. Spanish text usually runs about 10% longer than English, so I keep that in mind as well. When crafting the bold statement, it’s also important to consider what subjects we’ve already covered on other signs around the Zoo so as not to tell similar stories too many times.
- Diet, habitat, and size: These are pretty self-explanatory — what do they eat? what’s it like where they live? how big are they?
- Status: Again, we refer to the IUCN as the authority on a species’ status in the wild. We will note if the species is listed as vulnerable, endangered, critically endangered, or even extinct in the wild, like the Socorro dove found in our Tropical Flights aviary. We also identify native species that are not on the Red List but are listed as threatened or endangered under the US Fish and Wildlife Service Endangered Species Act.
- Species Survival Plan icon: The Species Survival Plan icon indicates that the animal is, as you may have guessed, part of a Species Survival Plan. The mission of an Association of Zoos and Aquariums (AZA) Species Survival Plan® (SSP) Program is to oversee the population management of the species within AZA member institutions and to enhance conservation of the species in the wild. The Phoenix Zoo participates in over 130 SSPs!
- Venomous icon: Indicates that the species is venomous.
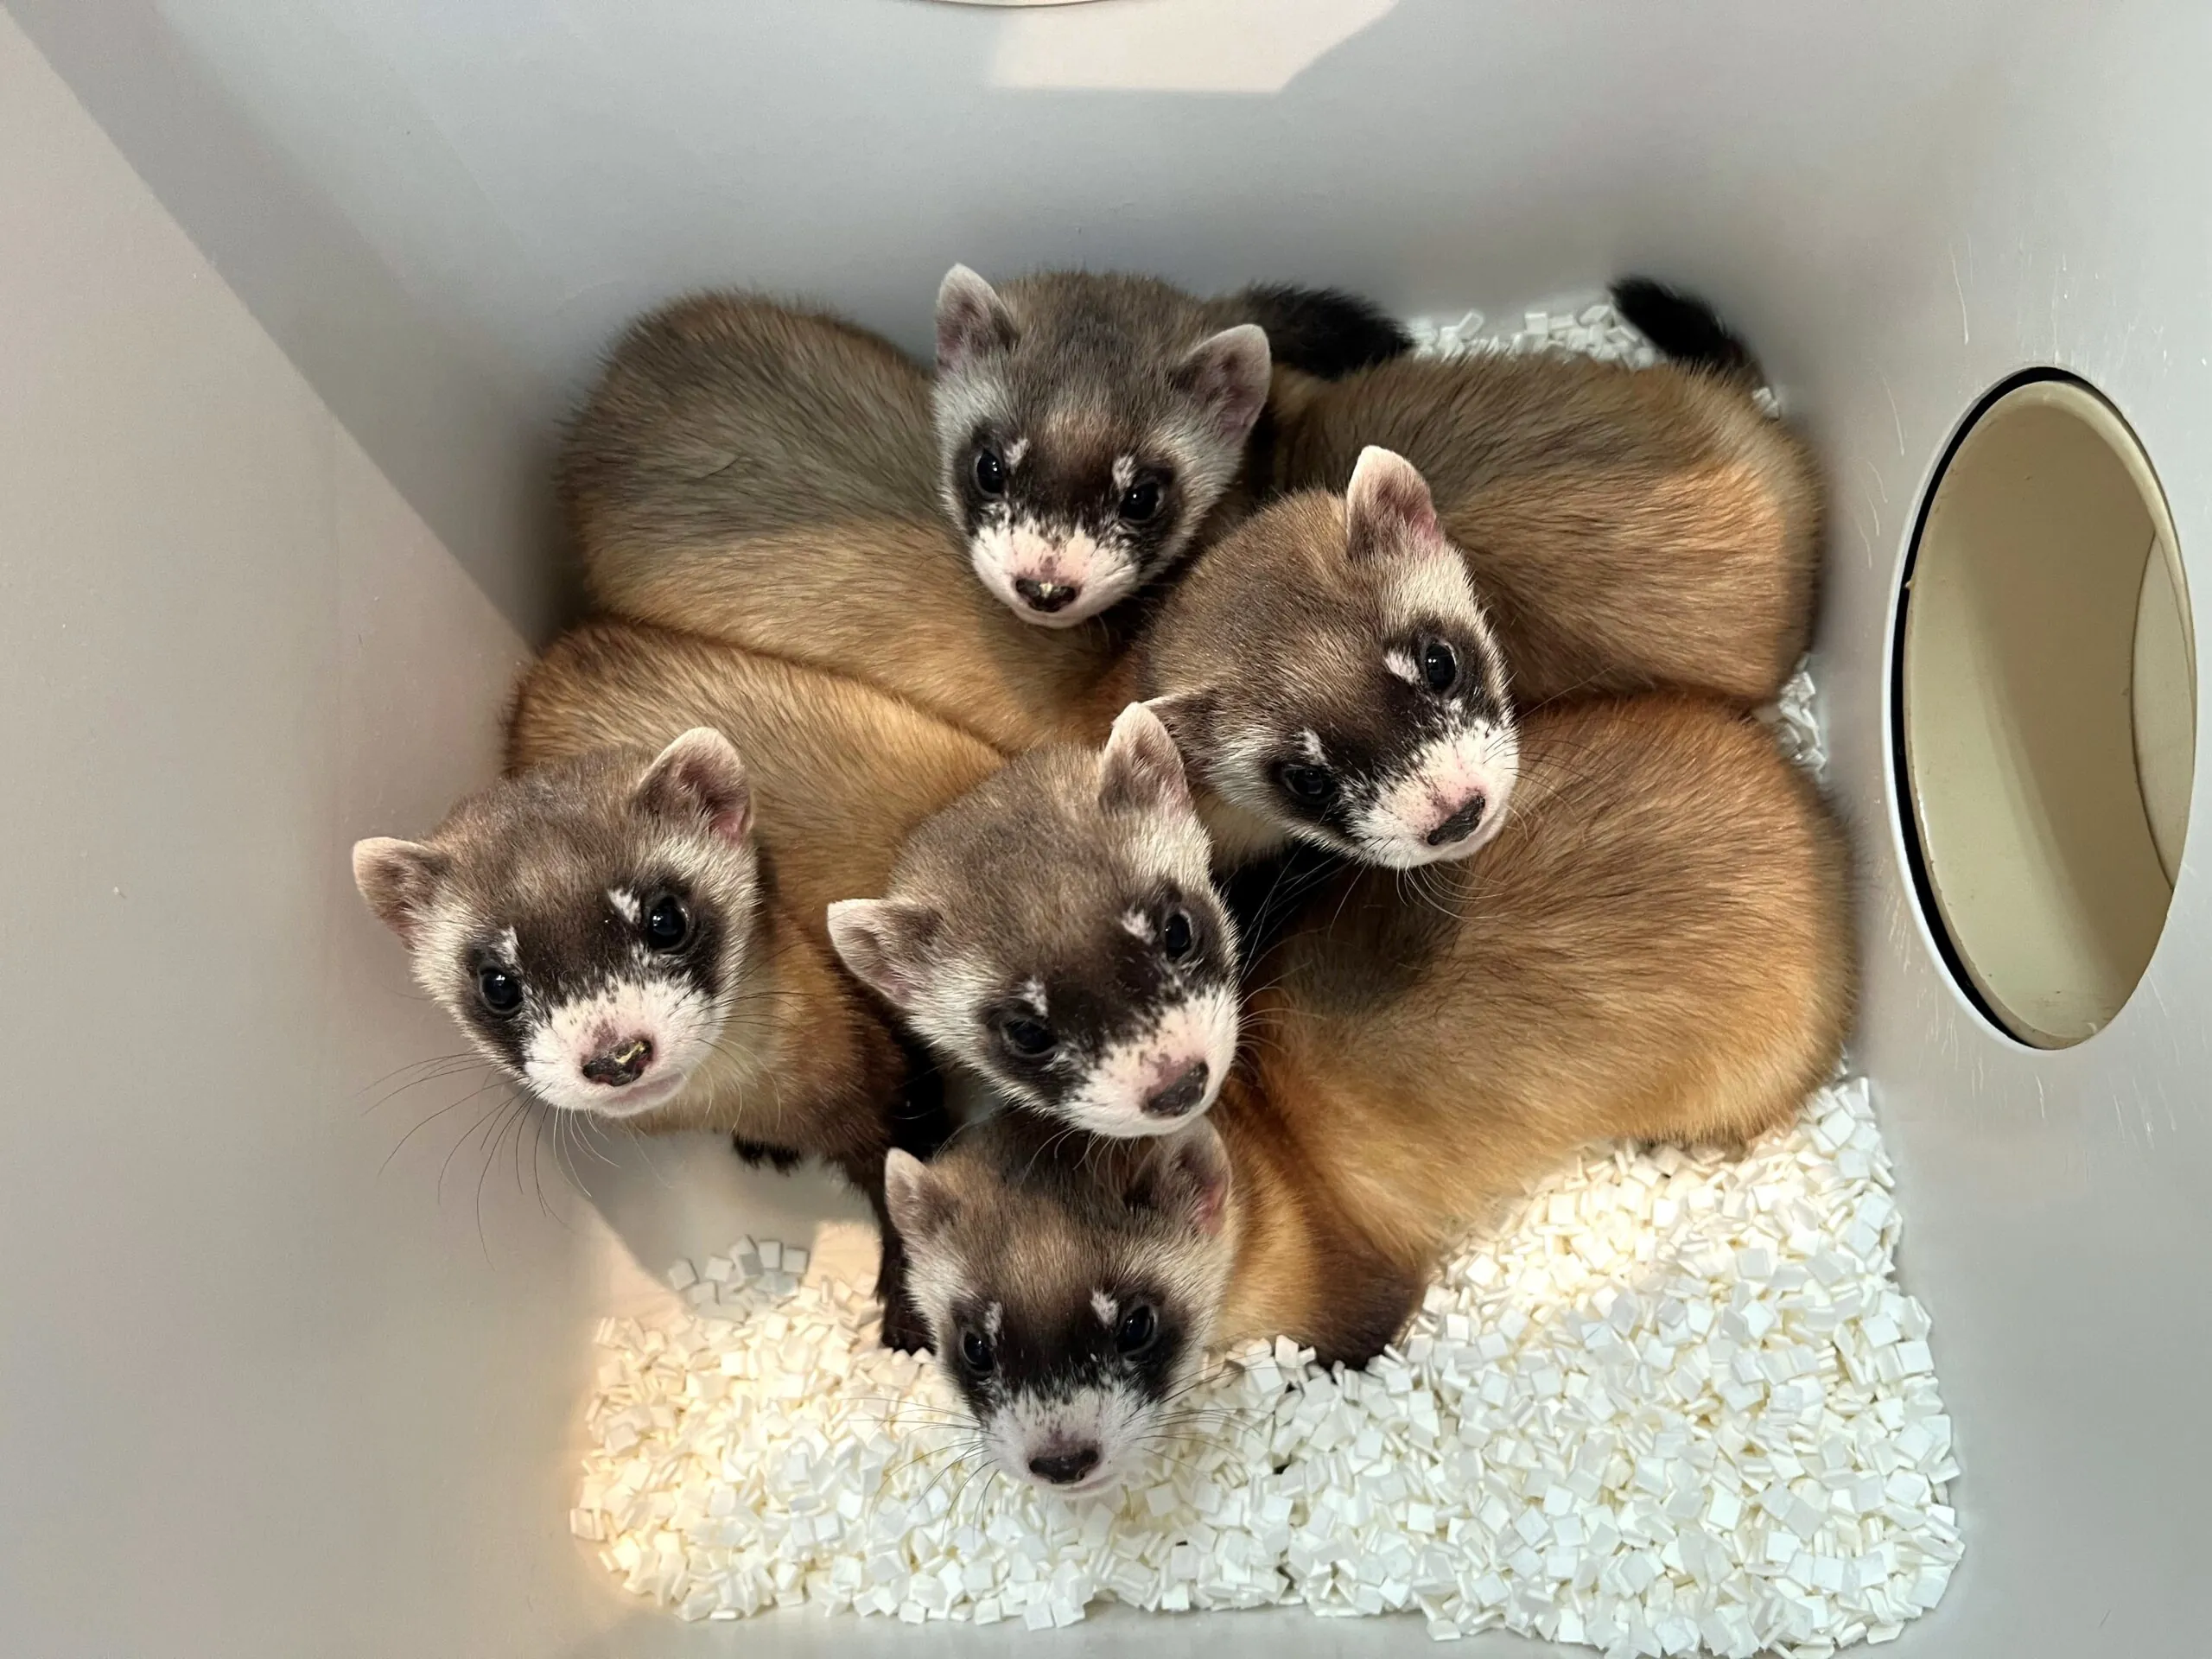
- Photograph: Finding the right photo is one of my favorite parts of the process. Sometimes I acquire them from private photographers via their websites or photo hosting sites like Flickr. Often, they will donate their photos for free or sell them to the Zoo at a reduced rate. We are always happy to credit photographers when they donate their work. Wikimedia commons can be a good place to look for free-use images, and we have accounts with a number of stock photography companies as well. If need be, I’ll reach out to colleagues at other institutions, and in some cases, we take the photograph right here at the Zoo. I don’t use a photo unless we have obtained the rights, or I am confident that we are legally free to use it.
A few more things I consider when choosing photos …
- Is it a good photograph? Is it a big enough file? Is it blurry? Framed appropriately? Aesthetically pleasing?
- Is it the correct animal? On occasion, wildlife photographers misidentify their subjects. It happens.
- Does it relate to the content? It’s not always an option, buts it’s ideal if the photograph shows what’s being described in the bold statement.
- Human-made objects? We consider our Zoo animals to be ambassadors for their counterparts in the wild. So, whenever possible, we choose to use images of animals in their natural habitats. If such a photo can’t be acquired, we occasionally use images of animals in managed care but aim to represent them in a naturalistic setting.
When researching and collecting information, I like to check a minimum of three respected sources before determining what to share. It can be trickier than you might think. At times, even the most respected authorities can disagree on issues like range, size, or the details of a particular trait or phenomena.
Striving to be as accurate as possible sometimes means digging deep — reading original scientific publications, watching video or listening to audio files, or if possible, observing in person. I often reach out to my Education Department colleagues or Living Collections staff to get their input on one thing or another. If it comes down to it, I don’t hesitate to contact experts at other institutions for their perspective.
Once everything is prepared, the copy goes through an editing/approval process, and then on to a local translation firm to be translated into Spanish. After translation, all materials are sent to the Graphics Department for design. After a final review, Graphics prints the species label, and the Operations Department installs it at the exhibit.
Species label examples